Mastering the Ned Rig: The Go-To Setup for Pro Bass Anglers
Every once in a while, something comes along in the bass fishing world that turns it upside down, triggers a massive trend, and eventually becomes a staple throughout the community.
Well, one of the latest evolution to do that is the Ned rig for bass fishing.
The Ned rig is a bit odd compared to other rigs you might be used to, and today, the Bass Forecast team is going to go over everything you need to know about what it is, how to make it, and how to use it.
Let’s get started.
Bass Forecast Newsletters
What is a Ned Rig?
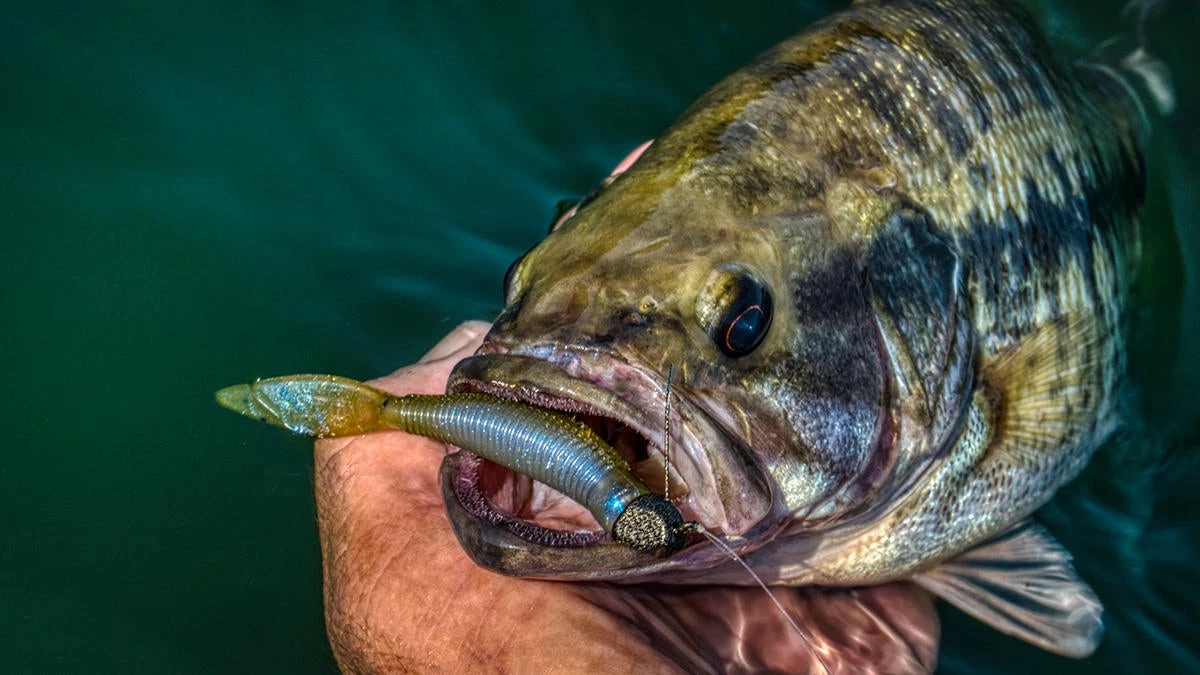
A Ned rig is one of the most unique types of rigs there are. At its core, it’s essentially a normal jig setup. A weight is molded around a hook, and you thread a soft plastic lure on it. That’s about it.
However, the fine details are what set it apart from old-fashioned jig heads.
What Makes a Ned Rig?
As we said, this is essentially the same as those old-fashioned jig heads with ball-shaped heads and embedded hooks. However, the jig head is mushroom-shaped and usually has a flat “face” at the front of it. This greatly changes the behavior of the jig underwater.
As it descends, it falls more slowly than a traditional jig and shimmies like a baitfish trying to elude a predator, which can trigger a bite.
And, when it reaches the bottom, instead of the lure bouncing around and the jig rolling across things, it plants itself firmly at the bottom while the lure points straight up toward the surface.
This action makes it look like a bait fish or aquatic creature that is feeding on the bottom instead of just bouncing around down there. Keep that in mind because it plays a big part in our tip section.
Setting Up the Ned Rig
Setting up a Ned rig is simple. First, there are two main ways you can do it.
The first method is to buy a premade Ned rig. These are mushroom-headed rigs that come pre-threaded with short stick baits. You can find them in pretty much any tackle aisle, and you can find them at Tackle Warehouse.
On the other hand, you can make a lot more for a lot less by buying the two components separately.
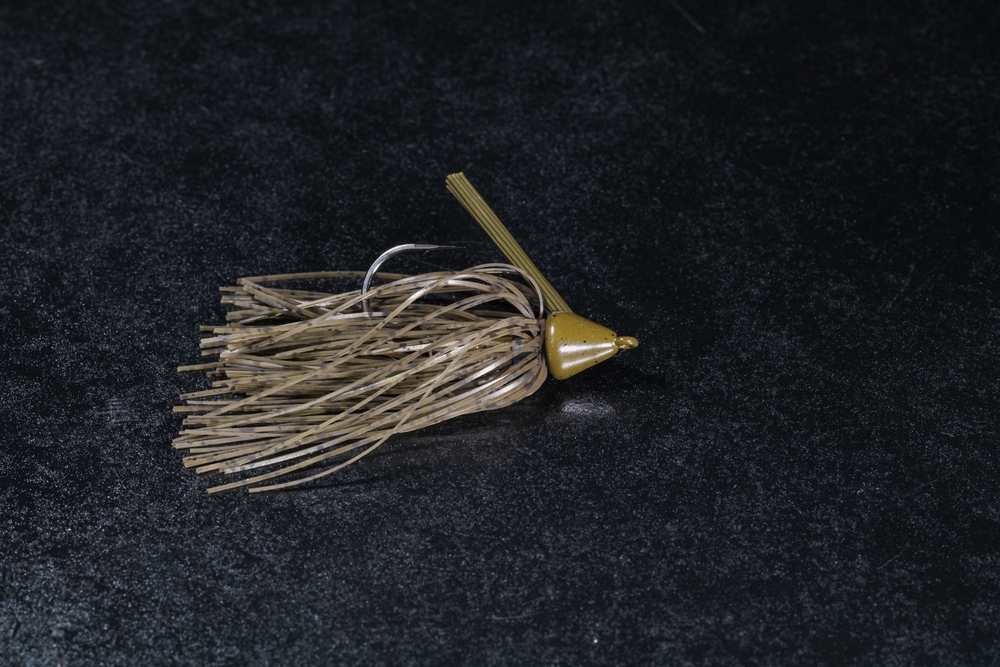
To do that, you need to buy Ned rig jigheads. These are often labeled as mushroom heads or finesse heads.
Then, you need to buy stick baits like Senkos.
If you buy the pre-made rigs, all you have to do is use your favorite knot to tie it on and start fishing. We highly recommend a strong knot such as the Improved Cinch Knot..
Because even if you catch small fish, you’ll be bouncing this thing around the bottom where it can potentially get stuck on rocks and hazards.
If you decide to make them yourself, there is a little more work, but it’s still just as fast as setting up a Texas rig.
First, take one of your stick baits and snip a bit of it off to get it to the right size. Most baits on Ned rigs are 2.5 to 4 inches long. So, if you get a longer stick bait, you can typically cut it in half and get two baits for the price of one.
Thread that onto your jighead, and then tie it on with a strong knot. That’s it.
One DIY method you can use if you don’t have the right jigheads is to turn a standard ball-shaped jighead into one. With a multitool file, you can quickly flatten the face of the jig, cut a stick bait to size, and set it up the same way you would with commercially available options. The difference is that your weight will no longer accurately match what it was intended to be. So, if you have everything tuned for an ¼ ounce setup, it will lose a bit of weight and throw off everything else.
It is a quick and easy way to set a couple up when you don’t go to the lake prepared, though. Especially if you have a bunch of those cheap, generic jigs in your arsenal. Of course, the commercially available options are far better.
Using the Ned Rig Effectively
So far, there hasn’t been anything that separates the Ned rig from similar jigs other than it being flat and making a different presentation. However, we think you’ll see that it requires you to go against some of the most popular standards in bass fishing when you look at how it’s used.
We’ll start with equipment and work our way through a standard Ned rig cast.
1: Equipment
This is a huge change from what you’ll typically see a bass angler doing, but you need to put up your hefty equipment for this one.
Most bass anglers today love medium-heavy to super-heavy rods for most of the stuff they’re doing. Whether that includes ripping diving frogs through moss mats or tossing massive swimbaits.
With a Ned rig, you have to go all the way down to a light or medium-light rod and reel setup. There just isn’t enough weight to cast it on heavier setups, and a big part of using it relies on a soft touch. You lose that sensitivity with more powerful rods.
You also need a spinning setup. We know that baitcasters are the norm now, and a lot of bass anglers exclusively use them, but the Ned rig is best on a spinning reel. If you absolutely must use a baitcaster, you’ll want to spend a fair amount on one of the new finesse-based baitcasters designed for light fishing and panfish.
That’s a pretty hefty investment for one rig, though. We’d recommend that if you also enjoy panfishing or other light-fishing methods.
Finally, you want to use a 4–6-pound fluoro or mono line. A braided line isn’t good for this, and you don’t want to use heavier lines, or you’ll have issues casting it. Remember, this is a finesse technique using smaller baits. You have to adjust all your gear to match it.
The rest of what you need is what we detailed earlier to make the rig itself.
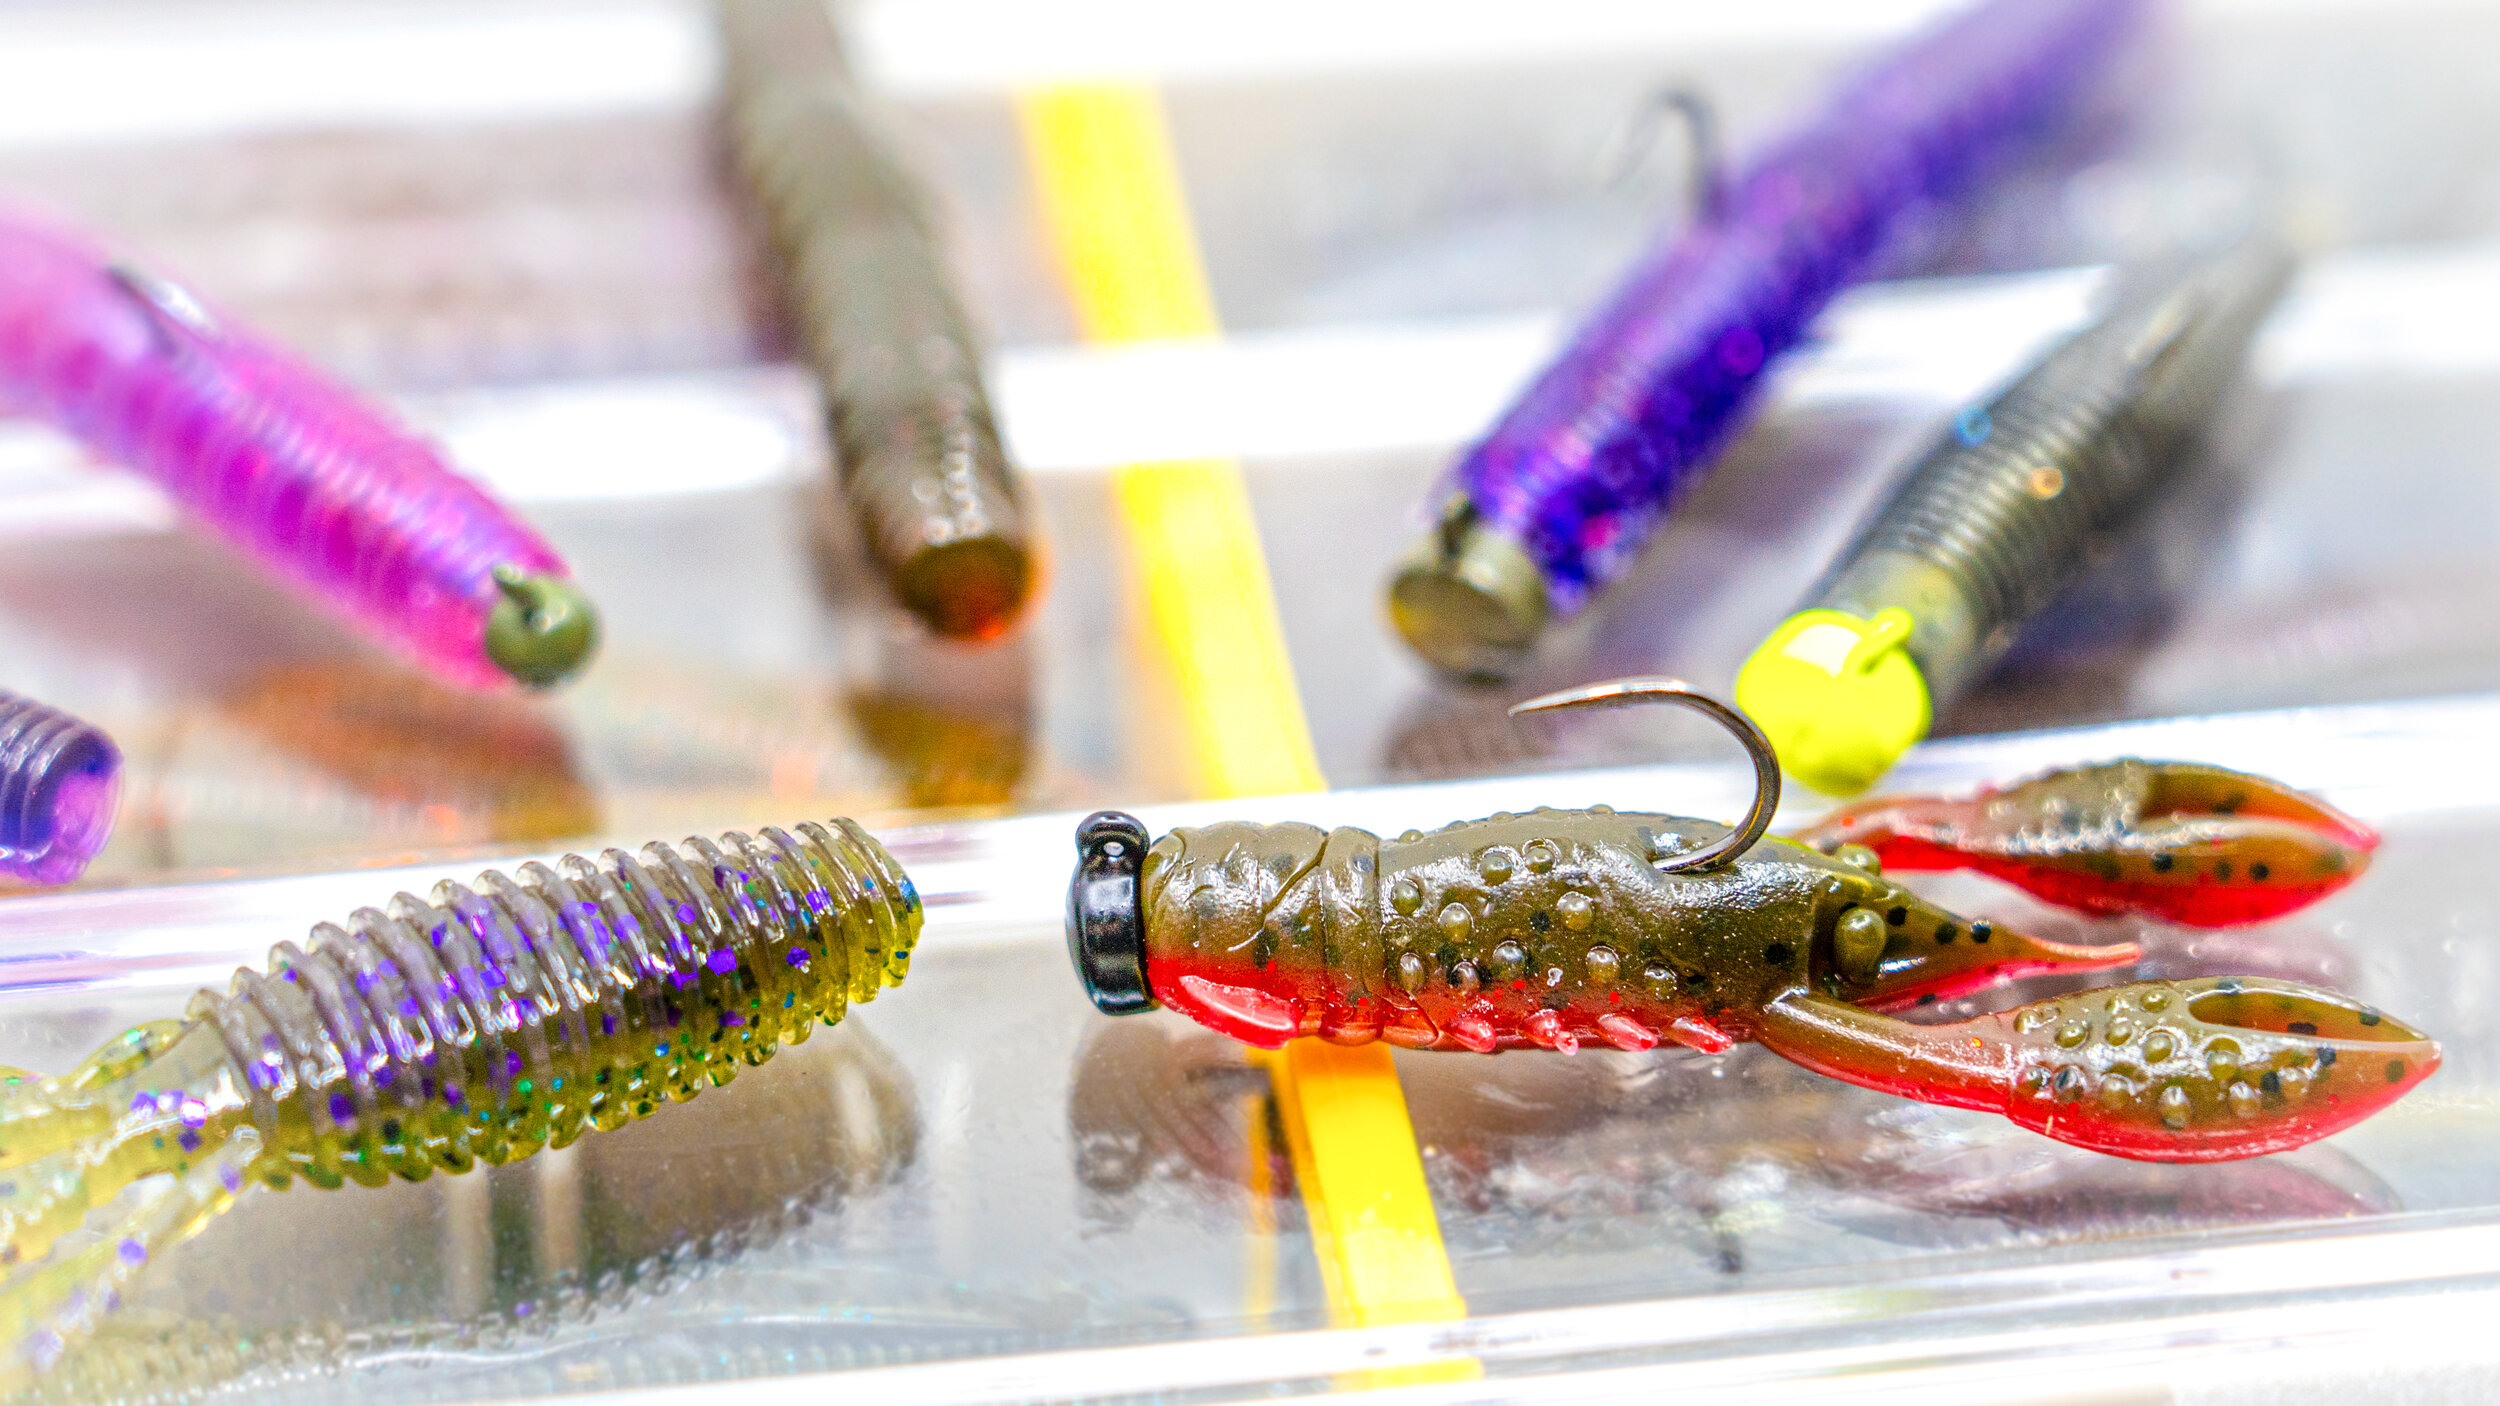
2: Choosing a Plastic
Just like any other rig, you’ll want to pick the right soft plastic to match it. This can vary at any given time. So, it’s best to have a variety of options. Of course, if you buy pre-made Ned rigs, the manufacturer has already picked a plastic for you.
We recommend getting a bunch of different Senkos to start. Cut them all to the same size for the heads that you have, and as you fish, cycle through the various color options until you find one that gets the bite. For your first few casts, pick a color that matches the season, water clarity, and hatch.
However, there is room to play with this, and we’ll highlight that later.
You can also try using the original Ned rig lure. This rig was invented in 2006 by Ned Kehde. That’s how it got its name. He made it when Kevin VanDam gave him some new Strike King Zeros, which would eventually turn into what you likely know as Z-Man ElaZtech WormZ. He threaded them on finesse heads, and the rest is history.
That’s a good option for you to try first if you want to spend a little more than you would on Senkos or generic Senkos.
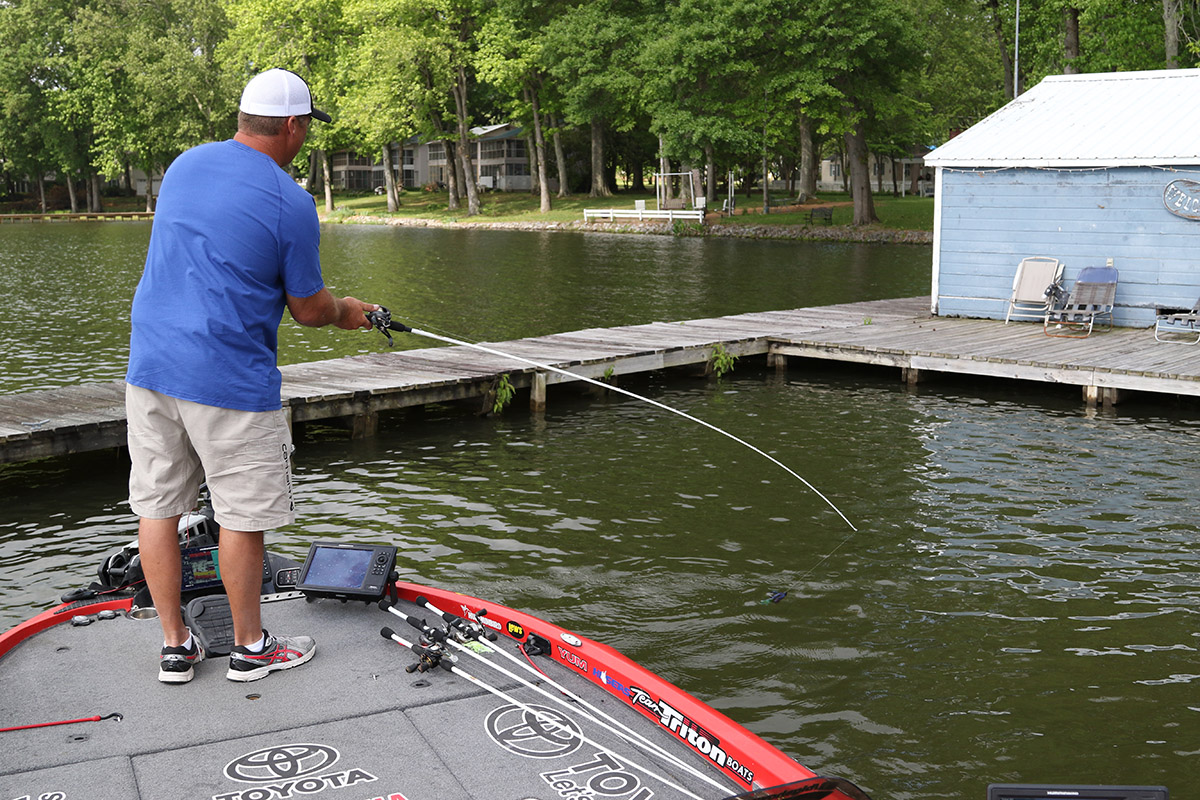
3: Where to Cast
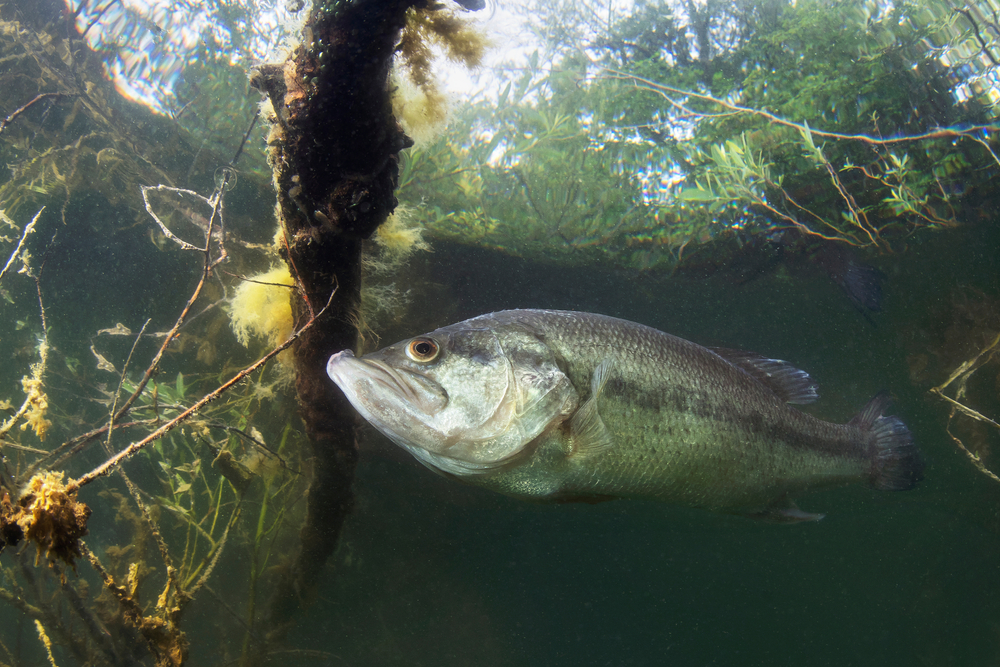
It’s typically best to cast your Ned rig around the cover but not directly in it. For example, if you’re fishing near a dock, cast right next to the dock and retrieve it along the side. Don’t dock flip it under the dock. The same tactic can be used against weed lines and other types of cover.
Although, the Ned rig is pretty effective even if you bounce it around out in the open. It just tends to produce far more bites when you get right next to cover.
4: How to Retrieve Your Ned Rig
This is where all the magic happens. You have to take advantage of the unique jighead and stiffer, more vibration-based body of the stickbait.
There are three main ways this is done that can be used from the bank or a boat.
Then, there are a couple of variants that are used with trolling, but they work the same for the most part.
The most popular method is the hop. Simply cast your Ned rig out, twitch your rod tip to raise the lure a few inches off the bottom, and then let it fall. Reel in the slack during the pause, and then repeat that until the lure is back at your rod tip.
This is easy, and you can play around with your pause length and twitch intensity to figure out what the bass want. It’s also harder to get snagged because you’re lifting your rig out of the rocks in comparison to the next two options we’ll list.
The next way to present it is to drag the rig across the bottom a few inches by slowly pulling your rod and keeping the rod tip low near the water. After you drag it, shake the rod tip back and forth lightly. This will wag the little tail of the rig back and forth, almost calling bass over to eat it. Then, let it pause, and repeat the process.
The only bad part about this is it’s easy to snag your rig on rocks when you’re dragging it. So, choose the type of lake bottom you do this on carefully.
Finally, you can swim it back and shake it. This is a more aggressive presentation, and it doesn’t take full advantage of the mushroom head, but it does catch fish. After the lure settles on the bottom, pull the rod up sharply, and shake it while the lure swims back down to the bottom.
This isn’t as common, but it generates a ton of action, and it can be a great way to use a finesse rig for a more aggressive presentation.
Tips for Using the Ned Rig
We’ve covered everything from making the Ned rig to retrieving it once you get it out in the water. However, there is plenty of room to mess around with it. Here are some of our top tips.
1: Get Creative with the Lure
Stick baits are the norm now, but that doesn’t mean you have to use them. If you use the shaky retrieval we talked about, you can use a soft plastic paddletail. It will look like a fish jumping from spot to spot to eat bottom-dwelling snails and similar food.
You can use a soft plastic lizard with the drag technique or the hop technique. Of course, curly tail grubs work amazingly with these. They’re small, and they work wonders on normal jig heads. Making the face of the head flat doesn’t change much, and they work just fine with more tail action than stick baits.
Just remember how the bait will sit and move around because you do want to make it look natural.
2: Patience is Key
Most of the time, the Ned rig is best used more slowly and methodically. It’s not a very fast-paced rig, and because of that, anglers who are used to buzzing baits through the water all the time might have trouble adjusting to them properly.
Just take your time, and make sure you go through all the steps.
3: They Got Famous for Cold Water Usage
When Ned Kehde first developed the Ned rig, it took off because he was catching more than 100 fish a day in water colder than 40 degrees. When you first start using it, try using it for late fall and winter fishing. It can be used year-round, but most finesse baits do very well in cold water when it comes to bass.
4: It’s Not Just a Bass Lure
Finally, the Ned rig isn’t just a bass rig. It’s a multi-species rig. The lures are small enough for crappie and even bull bluegill. So, take advantage of that. It can be useful on any trip. Not just when you’re bass fishing.
Add the Ned Rig to Your Repertoire Today
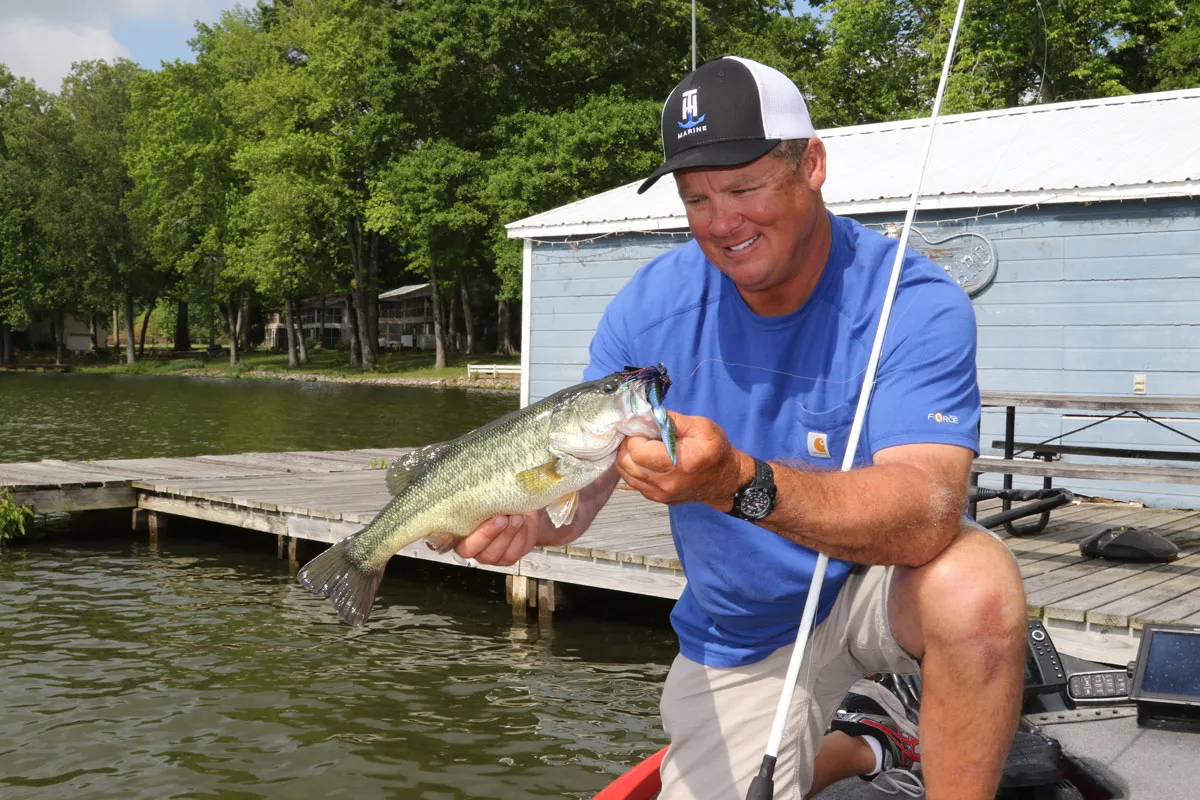
Bass fishing with the Ned Rig has exploded in popularity despite going against the norms that most anglers have made over the years. The rig is lightweight and requires a soft touch, and even the retrieval methods are far more complex than chucking it out and buzzing it in.
However, it can be a bass slayer, or it can be used to pick up those easy catches when the bass just won’t bite.
To better understand when and where to use the Ned rig effectively, download the Bass Forecast fishing app for targeted advice and optimal fishing times.

-1739275914.jpg)
.jpg)
.jpg)
.png)